Medisis
Add patient
To add a patient to the system follow the steps below.
Step 1:
Open the rate patient screen from the tree structure to the left on the application.
See figure 1

Step 2:
Click the add button next to the patients drop down list in the "patient and medication" pane.
See figure 2

Step 3:
a new dialog appears where the user is able to fill in patient information.
See figure 3

Step 4:
In the "personal information" pane of the new dialog enter the title, name, surname,ID number and diagnosis of the patient.
See figure 4

Step 5:
In the "address" pane of the new dialog enter the address of the patient.
See figure 5

Step 6:
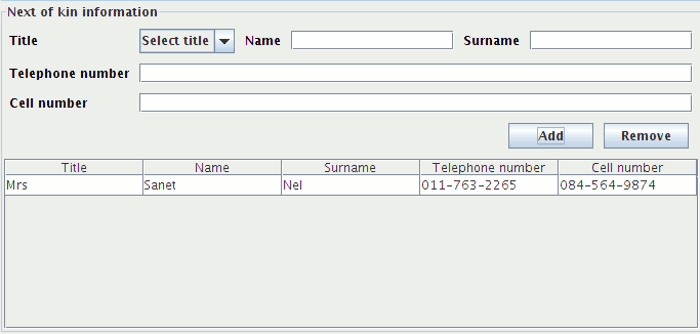
In the "next of kin information" pane of the new dialog enter the title,name,surname,telephone number and cellphone number of the next of kin of the patient. Enter these in the textfields provided. After entering the information click the add button. The information entered now appears in the next of kin table. Repeat this process for multiple next of kin entries.
See figure 6

Step 7:
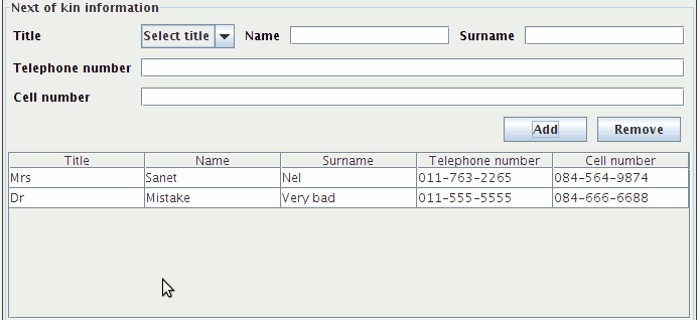
In the "next of kin information" pane of the new dialog validate the next of kin table and make sure all entries are correct.
See figure 7 for a mistake in the table.

Step 8:
In the "next of kin information" pane of the new dialog select the mistake in the next of kin table and click the remove button.
See figure 8 for the final result.

Step 9:
Finally click on the add button at the bottom of the screen to save all information to the database.
See figure 9

Step 10:
To remove the dialog from sight. Click he cancel button as shown in figure 10

Step 11:
The patient is now listed in the "patients" drop down list on the "rate patient" screen in the "patient and medication" pane.
See figure 11

